Blog · September 25, 2026
Beanie Mockups: How to Make Them
Short answer
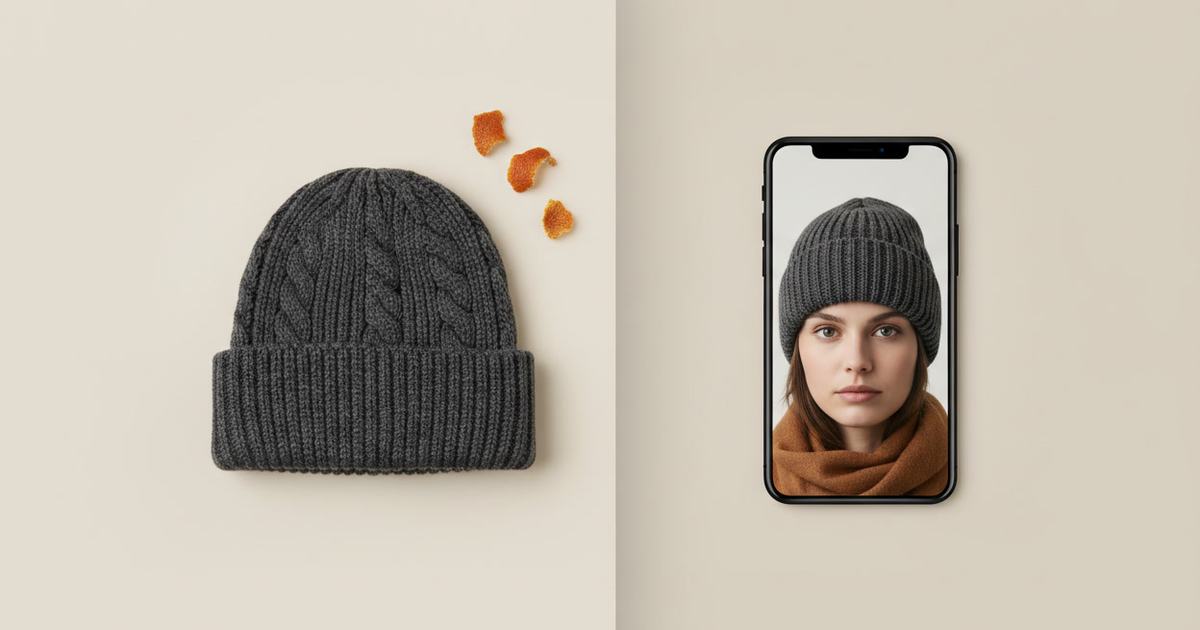
To make a beanie mockup, photograph the beanie flat in even light, then use an AI mockup generator to put it on a model — this shows how it sits, how the cuff folds, and where a patch lands, none of which read flat. Mockup Tool builds it from your real beanie in about 15 seconds on iPhone at 4K, giving a small accessory proper product photography.
A beanie photographed flat looks like a sock. The whole product only makes sense on a head: how deep it sits, how the cuff folds back, how the knit stretches over the crown, where the patch or embroidery lands. Flat on a table, none of that is visible, so a beanie listing with a flat photo asks the shopper to imagine the one thing they’re buying. Putting it on a model fixes that — and you don’t need a photoshoot for a $25 accessory.
Why flat beanie photos don’t sell
A beanie’s appeal is entirely about fit and texture on a head. Slouchy or fitted, folded cuff or raw edge, chunky rib or fine knit — those distinctions vanish when it’s squashed flat, and the patch placement that carries the brand ends up in a meaningless spot on a lump of fabric. Shoppers can’t judge any of it, so they hesitate, and a high-margin add-on quietly underperforms.
How to make a beanie mockup
- Lay the beanie flat, shaped naturally, with the cuff and any patch or embroidery visible.
- Light it evenly and shoot straight down so the knit texture reads.
- Fill the frame with the beanie; keep the background plain.
- Run it through Mockup Tool to generate it on a realistic model — knit texture, cuff, and patch placed on a head.
- Generate a couple of variations and pick the fit that matches how you want it worn.
Because it’s built from your real beanie, the knit texture, cuff fold, and patch position carry over onto the model rather than defaulting to a generic hat. The cleaner the flat photo, the more the texture and detail show.
Why it fits accessories especially
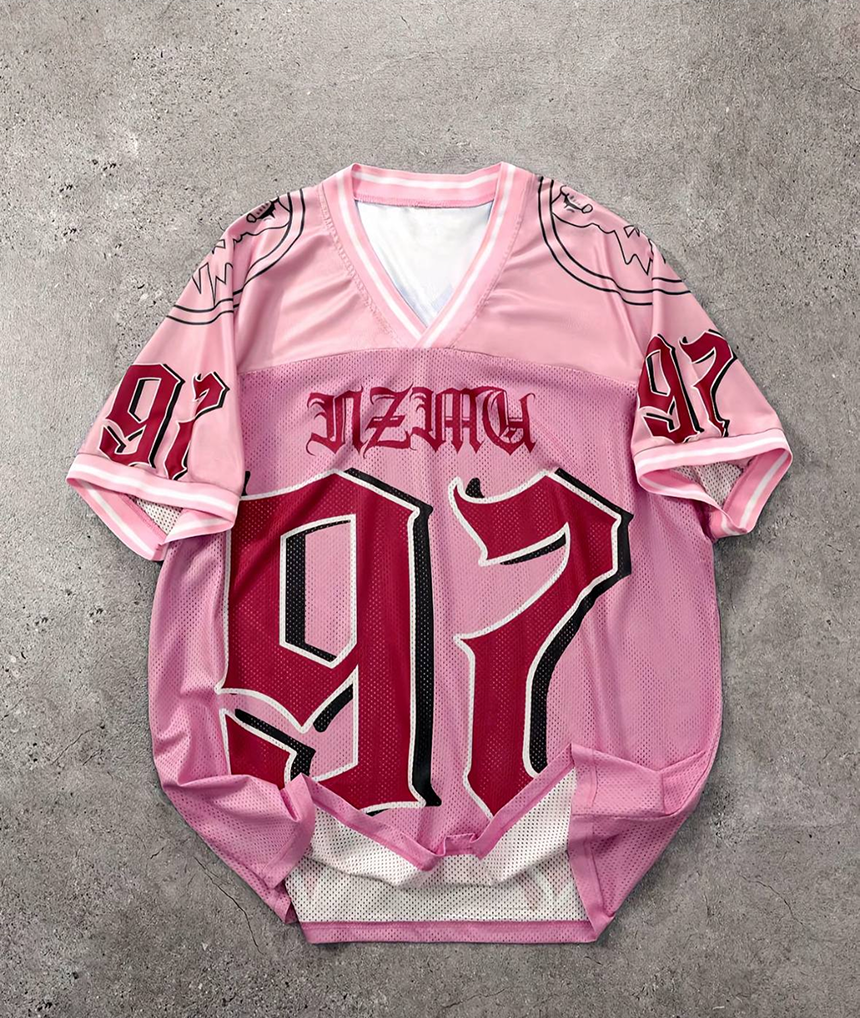
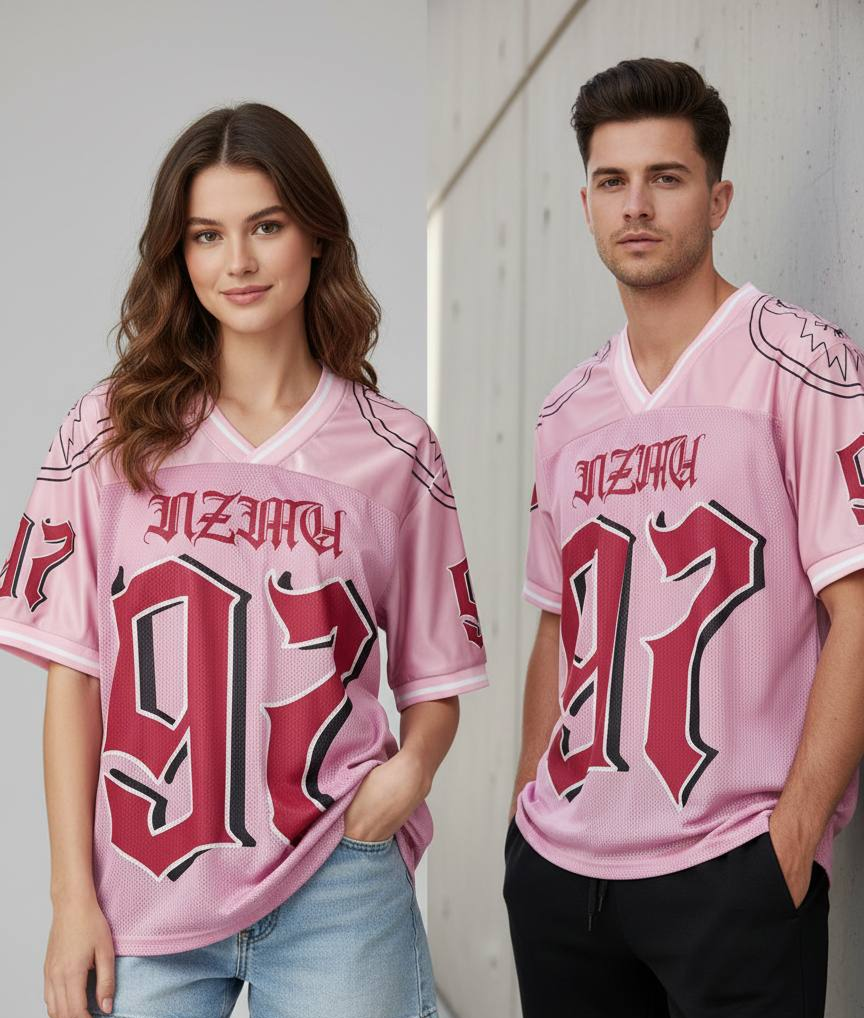
Beanies are high-margin add-ons that rarely justify their own photoshoot — which is exactly why generating the visuals works: the cost is a phone photo, and you get hero-item photography for an accessory. For streetwear brands and embroidery shops running many colorways, generating each one keeps the set consistent without a shoot per hat. See the beanie mockup generator, or start with the free mockup generator.
What it shows — and what it doesn’t
A beanie mockup is a realistic preview of how the hat sits and reads on a head, not a technical fitting. It shows the fit and texture; it won’t certify exact stretch on a specific head size. For listing and social images, it replaces the studio shoot at the cost of a photo.
Frequently Asked Questions
How do I make a beanie mockup?
Photograph the beanie flat in even light with the cuff and any patch visible, then use an AI mockup generator like Mockup Tool to place it on a model. Building from your real beanie keeps the knit texture, cuff fold, and patch placement that a flat photo hides.
Why do beanies look bad in flat photos?
A beanie only makes sense on a head — how deep it sits, how the cuff folds, how the knit stretches. Flat on a table it looks like a sock and the patch placement is meaningless, so shoppers can’t judge the fit or style they’re buying.
Can I make beanie mockups without a model?
Yes. An AI mockup generator places your beanie on a realistic model from a flat photo — no model or shoot. Mockup Tool runs on iPhone, generates in about 15 seconds, and exports at 4K, which makes sense even for a low-price accessory.
Will the knit texture and patch show?
They carry over because the image is built from a photo of your real beanie, not a generic hat. The clearer your flat lay, the more faithfully the knit, cuff, and patch render on the model.